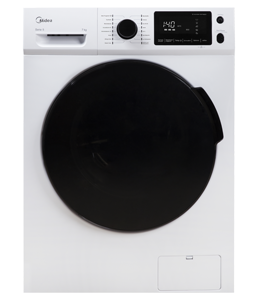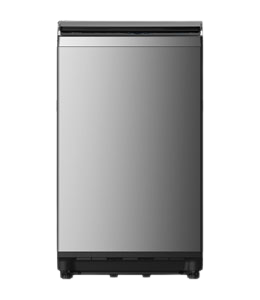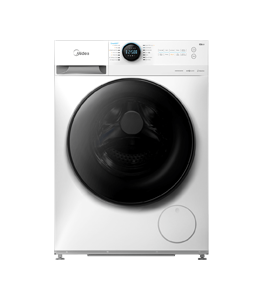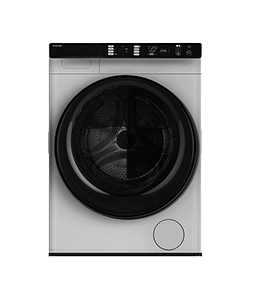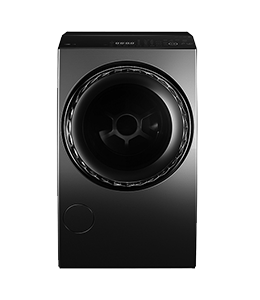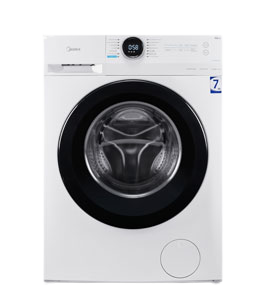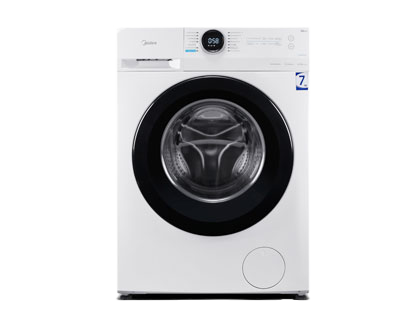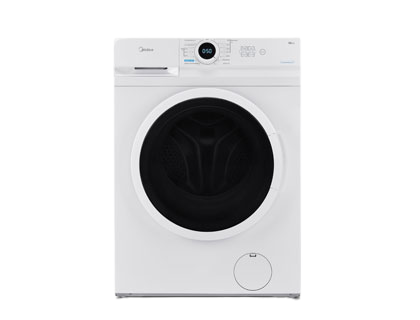
Midea MF200W70B/E Freestanding Washing Machine
read more

When you buy a new dryer, you need to consider its installation. Usually, the company you bought the dryer will install it for you, but when you've purchased a used dryer or you don't want to pay for the service, you can install it yourself using the following guidelines.
1.Check the voltage on the dryer
Many new dryers on the market today use 120 volts, so check your circuit breaker to make sure you have two 120 volt circuits. If you don't know how to check, ask a qualified electrician to help you check your circuit breaker.
2. Make sure you have a dryer-compatible exhaust vent on the wall
The vents on the dryer need to match the vents on the wall of the laundry room. Most vents are 4 inches (10.16 cm) in diameter. If the vent on the dryer does not match the vent on the wall, you can purchase a vent adapter or transition tube at a hardware shop or home improvement shop.
3. check the gas pipes in the laundry room
If you are choosing a gas dryer. Then a gas dryer requires a proper gas connection. The gas line should have a supply valve in the room where you intend to install the dryer, preferably within 6 feet (1.8 m) of the appliance. If you do not already have a gas line in your laundry room, you will need to have a qualified technician help you with the installation.
1.Turn off the circuit breaker and gas valve
You can turn off the circuit breaker at the main breaker panel. They are usually located in garages or basement houses and in utility closets or bedrooms in flats and condominiums. The gas valve can be turned off at the supply valve of the dryer gas line or at the main gas service shut-off valve. If you do not know how to turn off the circuit breaker and or gas valve, seek the help of a professional skilled worker to assist you.
2.Apply the thread compound to the threaded end of the tube
You will need to apply pipe thread compound to all threaded connections before connecting the pipe from the dryer to the gas pipe in the wall. This is very important. It will help to create a good seal between the pipe components and prevent dangerous gas leaks.
3.Connecting pipe connectors
Attach the flexible connector with stainless steel fittings to the gas pipe of the dryer. You can usually find it in the packaging of the dryer you buy. But you need to make sure that your connector is long enough to connect the dryer to the wall duct. And don't try to re-use old pipe connectors.
4.Connecting the dryer to the wall pipe
After connecting the pipe connector to the pipe on the dryer, connect the other end to the gas pipe in the wall. This gas pipe should have a threaded valve assembly attached. You will connect the pipe connector to the valve assembly.
5.Secure all connections
Use a pair of adjustable spanners to tighten all connections between the gas line components. However, do not over-tighten and tighten the pipes or strip the threads.
6.Check for gas leaks
You can use a detergent solution to check for gas leaks. Apply the detergent solution to the connectors between the various gas tube assemblies. Then, open the gas at the dryer supply valve. If you see bubbles forming on the connectors, this means you have a leak in the gas line. At this point, turn off the gas immediately, carefully tighten the connections and retry until the installation is complete.
1.Connecting the exhaust hose
There are two types of ventilation systems, rigid ventilation, which consists of a rigid metal pipe that works up to 40 feet (12.2 m), and semi-rigid ventilation, which uses a flexible hose that works up to 20 feet (6.1 m). Generally speaking, rigid ventilation systems are suitable for installation in dryer vents on the floor, while semi-rigid ventilation hose systems are suitable for connection to vents above the floor.
2.Secure the vent with a hose clamp
You can use hose clamps, pipe tape, or aluminum foil tape to ensure a secure connection between the ends of the exhaust hose. Generally speaking, hose clamps are the safest option as the tape will eventually dry out and lose its adhesive properties.
3.Check your external pipe openings
Ensure that the external duct openings are free of lint and other blockages and that the ventilation hood remains in place.
1.Connecting the power cable
You will need an adapted strain relief and install it at the power cable through-hole to prevent damage to the power cable.
2.Move the dryer to its final position
A distance of a few feet should be left between the dryer and the wall. You also need to be careful that the temperature in this location is not too low, as this can inhibit the function of the dryer. If you are using flexible or semi-rigid exhaust hoses, take special care not to squeeze them.
3.Adjustment of the dryer
You need to check the four corners of the dryer and place it at a horizontal angle. If necessary, adjust the length of the dryer legs so that they are perfectly horizontal.
Then turn the circuit breaker and gas back on. Now you are ready to use your dryer.