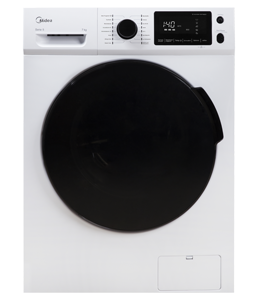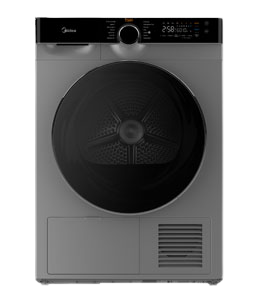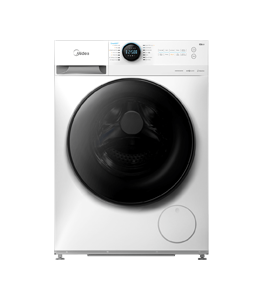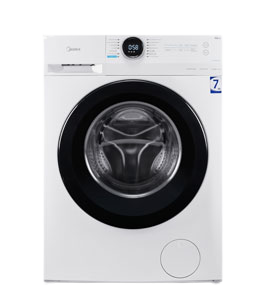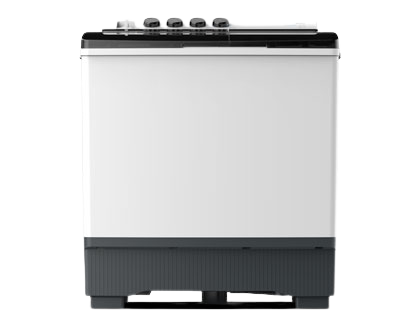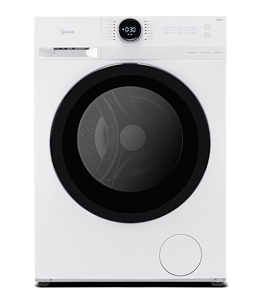
Midea MF200W70B/E Freestanding Washing Machine
read more

This guide will help you get started, for full details, please refer to the instruction manual.
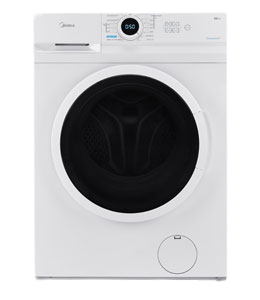
Compare the parts in the package with the parts written in the manual are the same, and reject any package breakage or missing parts if any. A front-load washing machine usually contains the following parts.
 | 01 Release lever 02 Detergent drawer 03 Control panel 04 Door 05 Drum 06 Debris filter 07 Emergency drain tube 08 Filter cover 09 Worktop 10 Power plug 11 Drain hose 12 Levelling feet |
 | Spanner |
 | Bolt caps |
 | Hose guide |
 | Cold water hose |
NOTE
Spanner is needed for adjusting the levelling feet, and removing the transit bolts on the back of the washing machine.
4 bolt caps are provided for covering the transit bolt holes.
Use the hose guide to loop the end of the drain hose.
Connect the cold and hot water hoses to the inlets at the back of the washing machine to supply cold and hot water.
Some types may just have one feed water inlet which is for cold water. If your washing machine has one water supply inlet, make sure you connect the cold water hose to the cold water tap.
Electrical supply and grounding
AC220-240V/50Hz fuse or circuit breaker is required
Use an individual branch circuit specific to the washing machine
To ensure proper grounding, the washing machine is attached with a bonus power cord featuring a three-prong grounding plug for use in a properly installed and grounded outlet.
Check with a qualified electrician or serviceperson if you are not sure about the grounding.
Water supply
A proper water pressure for washing machine is between 50 kPa and 1000 kPa. Water pressure less than 50kPa may cause the water valve not to close completely or it may take longer to fill the drum, causing the washing machine turn off. The faucet must be within 120 cm from the rear of the contraction so that the provided inlet hoses can reach the washing machine.
Tips: CAUTION
Check all connections at the water valve and taps for any leaks before using the washing machine for the first time. Turn off the taps when the washing machine is not in use.
Drain
A standpipe in height of 60-90cm is recommended. The drain hose must be connected through the hose clip to the standpipe, and the standpipe must fully cover the drain hose.
Flooring
For best performance, the washing machine must be installed on a solid floor. Wood floors may need to be reinforced to minimize vibration and/or unbalanced loads. Carpeting and soft tile surfaces are not a good resistance to vibrations and may cause the washing machine to move slightly during the spin cycle.
Installation CAUTION
Do NOT install the washing machine on a platform or a poorly supported structure.
Water temperature
Do not install the washing machine in areas where water may freeze as the washing machine always retains some water in its water valves, pumps, and/or hoses. Frozen water left in the connection parts may cause damage to belts, the pump, and other components of the washing machine.
Minimum clearance for stable operation
Sides | 25mm | Rear | 50mm |
Top | 25mm | Front | 550mm |
If both the washing machine and a dryer is installed in the same location, a ventage at least 550mm in diameter is needed at the front of the alcove or closet. Your washing machine alone does not require a specific air opening.
STEP 1 Select a location
Location requirements:
Solid, level surface without carpeting or flooring that may obstruct ventilation
Away from direct sunlight
Adequate room for ventilation and wiring
The ambient temperature is always higher than the freezing point (0 °C)
Away from a heat source
STEP 2 Remove the transit bolts
Unpack the product package and remove all transit bolts.
NOTE: The number of transit bolts may differ depending on the model.

Locate the transit bolts (marked with circle in the figure) on the rear side of the washing machine.
CAUTION
Do not remove the screw (A) that fixes the hose clip
Using the supplied spanner, loosen all the transit bolts by turning them counterclockwise.

Insert the bolt caps (B) to the holes (marked with circle in the figure).

STEP 3 Adjust the levelling feet
Gently slide the washing machine into position. Excessive force may damage the levelling feet.

Level the washing machine by manually adjusting the levelling feet.

When levelling is complete, tighten the nuts using the spanner.

STEP 4 Connect the water hose
The provided water hose may differ depending on the model. Please follow the instruction according to the provided water hose.
Connecting to a threaded water tap
Connect the water hose to the water tap, and then turn the connector clockwise as shown.

Connect the other end of the water hose to the inlet valve on the back of the washing machine. Turn the hose clockwise to tighten.

Open the water tap and check if there are any leaks around the connection areas. If there are water leaks, repeat the steps above.

Be sure to make sure that all areas do not leak, otherwise there may be a risk of electric shock.
CAUTION
Do not stretch the water hose by force. If the hose is too short, replace the hose with a longer, high-pressure hose.
Connecting to a non-threaded water tap
Remove the adaptor (A) from the water hose (B).

Use a Phillips screwdriver to loosen four screws on the adaptor.

Hold the adaptor and turn part (C) in the arrow direction to loosen it by 5 mm (*).

Insert the adaptor onto the water tap, and then tighten the screws while lifting the adaptor.
Turn part (C) in the arrow direction to tighten it.

While pulling down part (D) on the water hose, connect the water hose to the adaptor. Then, release part (D). The hose fits into the adaptor with a clicking sound.

To complete connecting the water hose, see 2 and 3 on the “Connecting to a threaded water tap” section.
NOTE
After connecting the water hose to the adaptor, check if it is connected properly by pulling the water hose downwards.
Use a popular type of water taps. If the tap is square-shaped or too big, remove the spacer ring before inserting the tap into the adaptor.
For models with an additional hot water inlet:
1. Connect the red end of the hot water hose to the hot water inlet on the back of the machine.
2. Connect the other end of the hot water hose to the hot water tap.

Aqua hose (applicable models only)
STEP 5 Position the drain hose
The drain hose can be positioned in three ways:
Over the edge of a wash basin
The drain hose must be placed at a height of between 60 cm and 90 cm (*) from the floor. To keep the spout of the drain hose bent, use the supplied plastic hose guide (A). Secure the guide to the wall using a hook to ensure stable drainage.

In a drain pipe
The drain pipe should be between 60 cm and 90 cm high (*). It is advisable to use a 65 cm high vertical pipe.
To ensure the drain hose stays in position, use the plastic hose guide provided (see the figure).
To prevent the siphoning of water flow during drainage, make sure to insert the drain hose 15 cm in the drain pipe.
To prevent the drain hose from moving around, secure the hose guide to the wall.
Drain standpipe requirements:
Minimum diameter of 5 cm
Minimum carry-away capacity of 60 litres per minute

In a sink drain pipe branch
The drain pipe branch mush be above the sink siphone so that the end of the hose is at least 24 in. (60 cm) above the ground. (*) : 24 in. (60 cm)
CAUTION
Remove the lid on the sink drain pipe branch before connecting the drain pipe to it.

CAUTION
Do not put the drain hose in places of stagnant water or ponding. The water may flow back to the washing machine.

STEP 6 Power on
Plug the power cord into a wall socket featuring an AC 220-240 V / 50 Hz approved electrical outlet protected by a fuse or circuit breaker. Then, press Power to turn on the washing machine